Skip to product information


Retro Table Clock
Sale price
R 680.36
Regular price
R 796.00
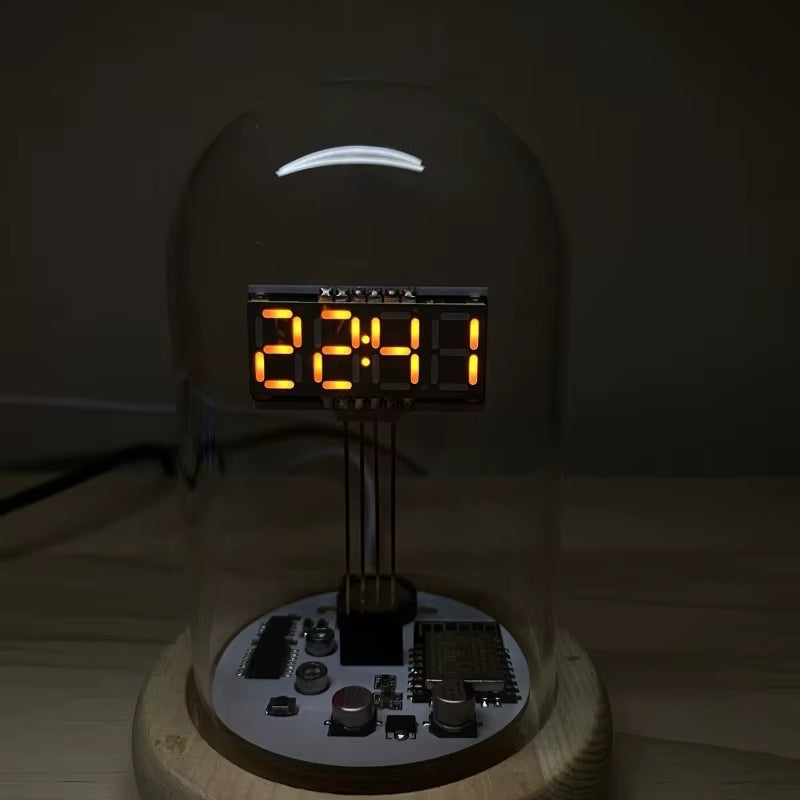
1. Including: a complete set of finished products such as a screen, driver board, control board, and glass cover will be dispatched, and a data cable will be given as a gift.
2. The interface displays the time (in minutes and minutes), without showing the date or seconds, only the time.
3. The rear MicroUSB can be placed in multiple ways. A power cord is included. It cannot be charged. Just plug any USB into your hand to power it. You need to prepare your own charger. It's especially suitable for DIY collection (desktop clocks, bedside sleep clocks)!
4. It has a built-in button to turn on the Wi-Fi time calibration function, and the calibration can be completed in just 20 seconds.
5. Orange digital tube, with a retro glass cover design.
6. Dimensions: 7X7X10CM, approximately the same size as a can of cola. It's especially suitable for decoration!
Instructions for Using Wi-Fi Clock:
The clock is controlled by pressing keys for different times. The specific description is as follows:
2: Synchronize the time immediately
3: Turn on the automatic time synchronization function every early morning
4: Turn off the automatic time synchronization function every early morning
5: Adjust the brightness, cycling from dark to bright
6: Adjust the time to obtain the server without deliberate modification.
10: Restore factory Settings.
For example, if you want to adjust the brightness immediately, just press the key until it shows 2 and then release it. If you want to adjust the brightness, just press the key and release it when it shows 5
Time synchronization mode: Press and hold the button for 2 seconds. When the screen displays 2 o 'clock, release it. The led indicator light on the back of the clock will flash slowly, indicating that time synchronization is in progress. Once the time synchronization is successful, the indicator light on the back will turn off. If the timing fails, the led will flash rapidly and the network needs to be configured manually.
Configure the network: When the indicator light on the back flashes rapidly, turn on the phone's Wi-Fi to connect to a passless Wi-Fi named WIFIClock or VFD Clock. After connecting to this Wi-Fi, the network connection interface will pop up normally. Enter the Wi-Fi name and Wi-Fi password, and then click "Save" at the lower left corner. If the web page does not pop up, open a browser and manually enter the address 192.168.4.1 to open it.


